4x5 Large Format
August 3, 2021Introduction
It was pretty much inevitable that I would try out a large format camera at least once. I’m not someone who has to use the biggest, nicest, sharpest gear, but I do like having a wide variety of unique experiences, and large format film is certainly unique.
Most people are used to shooting with an SLR or mirrorless camera, or maybe a rangefinder. Some discover the joy that is the ground glass of a TLR or medium format SLR, where the image is flipped. But a large format view camera is a whole different beast, and the image is flipped and upside down. It can really change your point-of-view on your photos.
My first large format camera
For my first large format camera, I bought a used and CLA’d Graflex Super Graphic from CatLabs, with a 135mm f/4.7 lens (since sold to @chrisnicpics). On 4x5, a 135mm lens is on the wider end of normal focal lengths. I also picked up a lot of film holders (since 4x5 sheet film doesn’t have its own canister, like 35mm, or backing paper like 120 film) from various eBay sellers.
I shot a few large format shots around the house, but the real test for the camera, and my interest in 4x5, came in August 2020 with a road trip to upstate New York with my family (in isolation, with Covid testing).
Until now, I’d shot some Ektachrome (go big or go home) in a Toyo 45cx I got on reddit, but that was it for color 4x5 film until this point and I’d blown out the Ektachrome pretty badly by forgetting to stop down my lens. Undeterred, I packed a couple boxes of Portra 160 alongside some HP5+.
Notes on gear
Large format requires some more gear than most smaller formats. You almost definitely need a sturdy tripod (unless you’re Weegee) and cable release, a dark cloth or other thick cloth to aid in focusing, a loupe for focusing, and the aforementioned film and holders. You also need a way to load your film in complete darkness. My kit for this trip included:
- Graflex Super Graphic
- 5 film holders in a special pouch
- 2 cable releases (because you always lose one)
- Bogen tripod legs and Manfrotto ball head
- Carson 10x loupe that I normally use when looking at film on a light table
- Adorama dark tent (much better than a dark bag)
Naturally, I forgot my dark cloth and had to use my jacket instead. None other than Bryan Schutmaat uses a black t-shirt instead of a dark cloth, so I figured it was probably okay. Plus, the Super Graphic had a fold-out shade on the back to aid in focusing, but in full sunlight it was still tough to see.


Takeaways
I learned quite a bit from the experience, mostly after the film was developed. Speaking of which, I used a now-closed mail-in lab in California for the developing and scanning, but at this point I have my own develop-and-scan setup at home for 4x5 film, even in color.
Most importantly, I love large format photography. Yes, it’s most definitely slower than other formats. Yes, it’s expensive. But the process, and using such an old camera, are very enjoyable to me. I don’t particularly feel the need to justify what I like to anybody, but if you want the “why”, that’s mine.
Almost as important, when photographing landscapes you have to get your horizons level, and DAMN that is hard on a ball head. I highly recommend a self-leveling or multi-axis tripod head for any large format work. Large format cameras, even the lightest ones, will be unwieldy and difficult to move small amounts while loosening and tightening a ball head. I’ve since upgraded to a Sirui four-way head that I like much better.
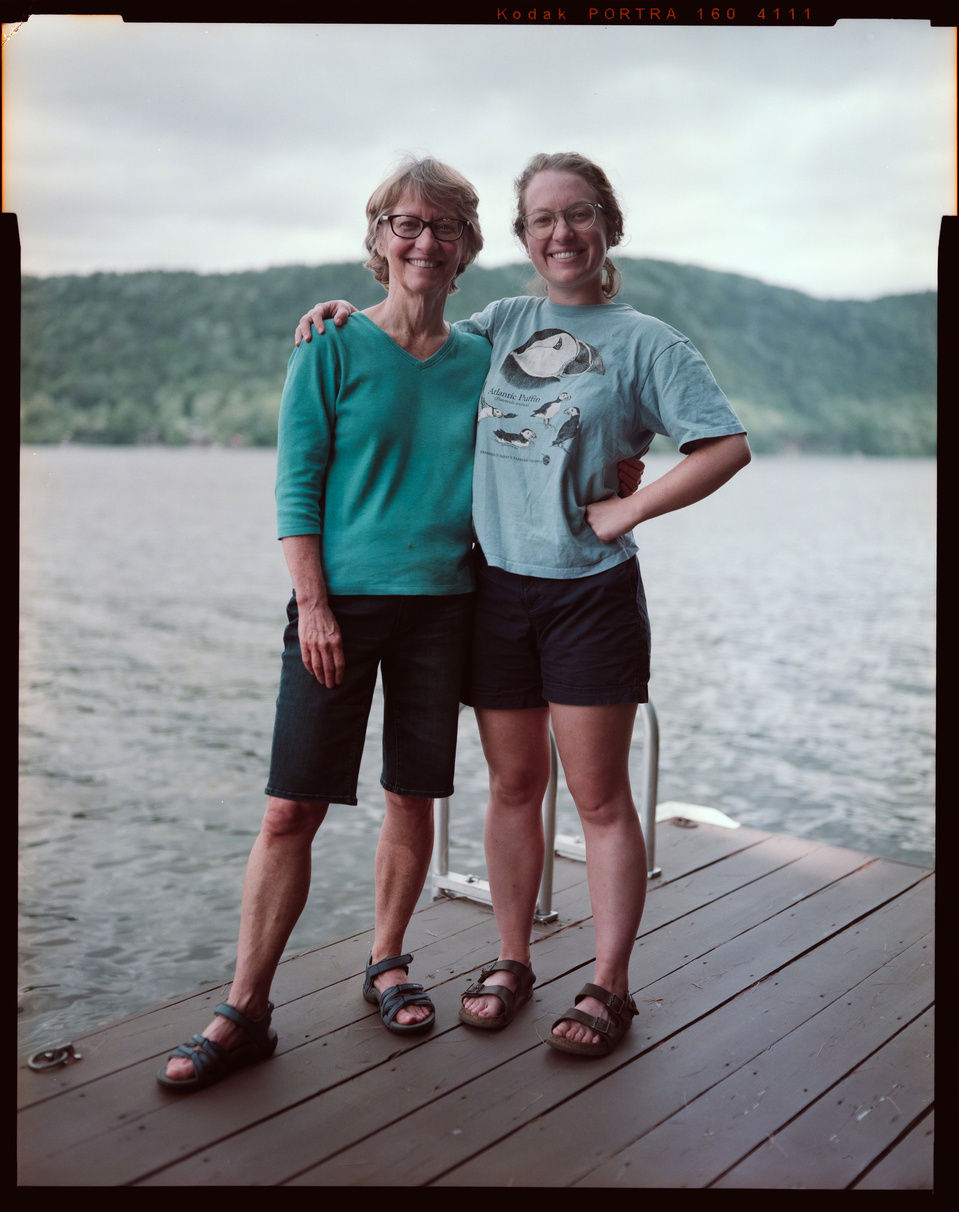
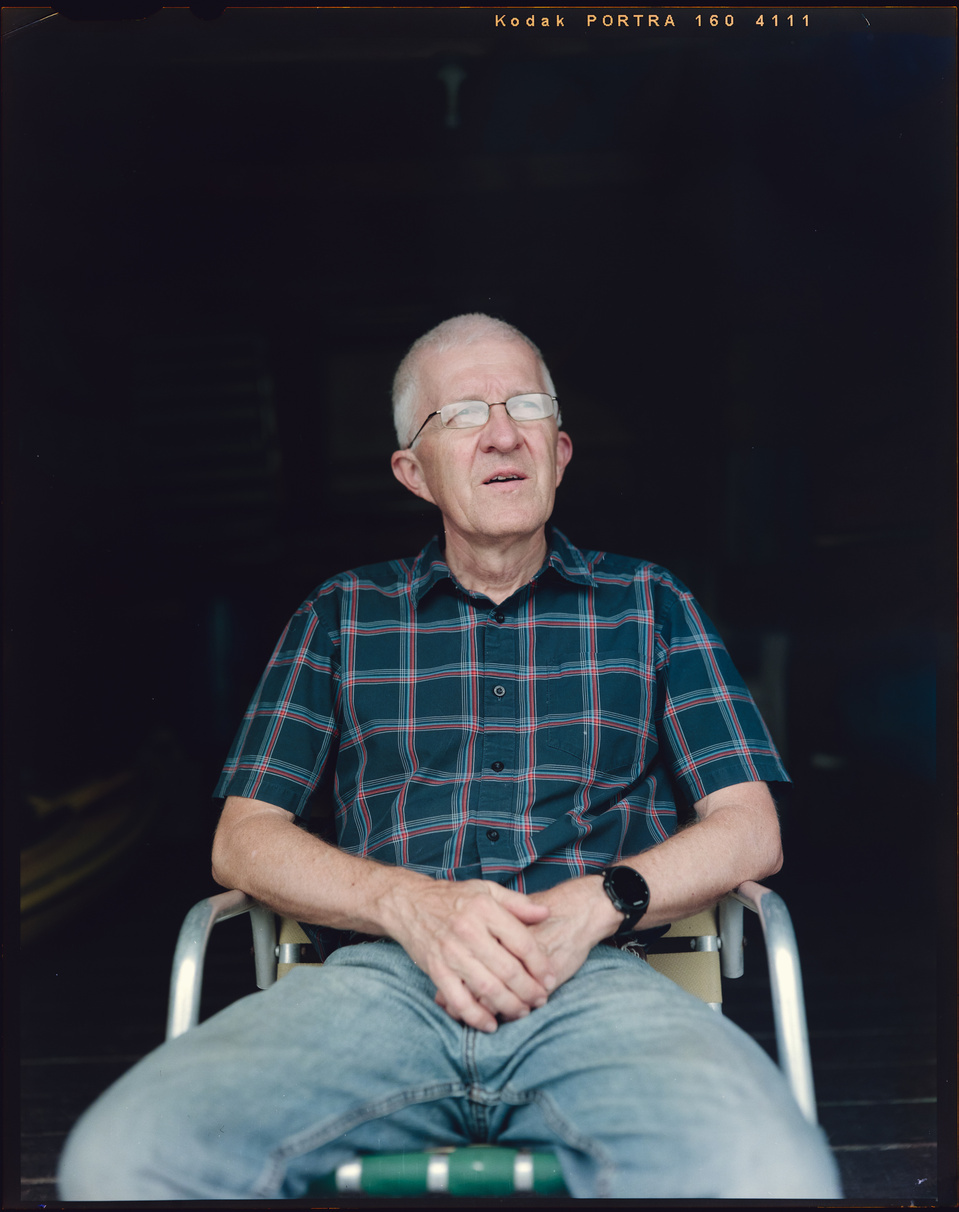
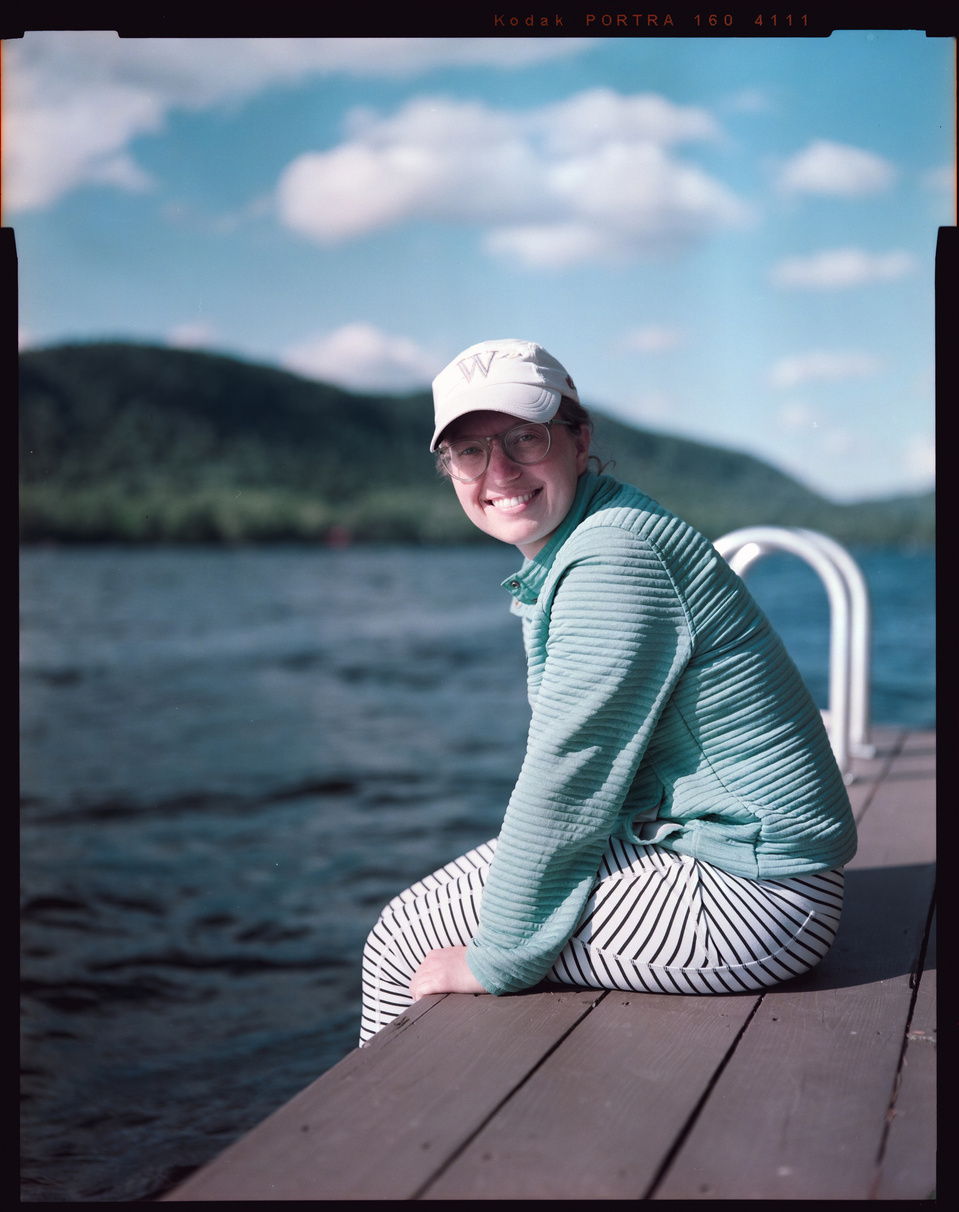
Portraits work really well on 4x5! Even when the subjects are standing (first image set, middle photograph). These portraits of my family are some of my favorites, and I have them printed and framed in my office as a triptych.
Landscapes also work well, but can be somewhat harder to expose correctly. Setting aside the relative compositional issues, the exposures are less accurate or well-metered, to my eye.
I also shot some HP5+, mostly in the woods, and home-developed it months later. I don’t have good scans, yet, and the photos are not my best. Again, I learned a lot from them, but I prefer to highlight what I feel are the more successful images.
The way forward
Since that first trip with the Graflex, I’ve continued to study, mostly on YouTube. I’ll write up a post on large format resources that have helped me along my journey.
I’m still shooting 4x5 large format. Even though I’ve since sold the Graflex, I did so because I bought an Intrepid 4x5 Mk4, which I quickly upgraded when I was able to buy a Linhof Technika IV and five lenses (two of which are convertible, for seven different focal lengths) that offered more accessible movements than the Graflex for more or less the same weight. The Linhof is pristine specimen, and a really well-made piece of kit. I shoot both architecture and portraits with it.
Why not keep the Intrepid? It’s certainly the lightest 4x5 camera I’ve used, and really quite nice. The problem for me was the lack of stops. Since I enjoy shooting architecture, never being certain my camera was square really bothered me, and made me question myself and reframe quite a lot. Upgrading to a more precise machine simply made sense. The Intrepid makes a lot of sense if you’ll be backpacking with it or otherwise need to prioritize portability, but for me that was less important than precision.
I don’t shoot large format every day. But each time I do take out the camera and perform what Mat Marrash calls “the dance”, it really feels like an experience worth savoring.

